 |
| A modern way to display a quilt |
Here we go again! Tutorial time!!!!
I created this pattern from a table runner pattern I saw in Sew it today magazine. I have changed the dimensions and the number of different fabrics that I used so that I could make it work for the size of my canvas.
Lets get started!!
***Tip: You can use scrap fabric, planned fabric or even a pre-cut jellyroll***
Supplies:
Sewing Machine
10 Different (Ironed) fabric patterns or materials each at least 2.5 inches wide and 30 inches long (I used a combo of cotton, fleece, and polyester)
Thread and a wound bobbin of matching thread
Scissors
Rotary Cutter and Self-Healing Mat
Hot Iron and Ironing board
Seam Ripper
Cutting Ruler, Large Clear Ruler
Canvas (mine was 20 x 16 inches)
Hot Gluegun (with glue stick)
Here we go!!
 |
| Cut strips of fabric |
You will be cutting 2.5 inch squares; however that can be extremely time consuming. I mean really who wants to sit and cut 100 squares... Not me :) !!! So lets get smart and figure this out. Take your ten strips of fabric and cut the width down to 2.5 inches by at least 30 inches long (we will be trimming the length so that part does not need to be exact.)
Now that you have all of your fabric cut and ready we will get ready to sew! (sorry I don't have this picture I was too excited to get started sewing!!! Anyway it just looked like a pile of fabric, or half a unrolled jellyroll ;).
(Spoiler: I will be having tutorials using pre-cuts soon!!!)
Plan out your fabric order and set the fabric up on your table and place the right sides of the fabric together, matching the top of the fabrics, and sew a 1/4" seam down the right side seam.
 |
| Right sides together and sew away :) |
Take your pattern to the ironing board and iron your seams in an alternating fashion. Press both seams in.
 |
| The arrows show the seems pressed in |
Now that you have all of your fabric together this is the interesting part. You will be sewing a tube and then we will be cutting your squares from here.
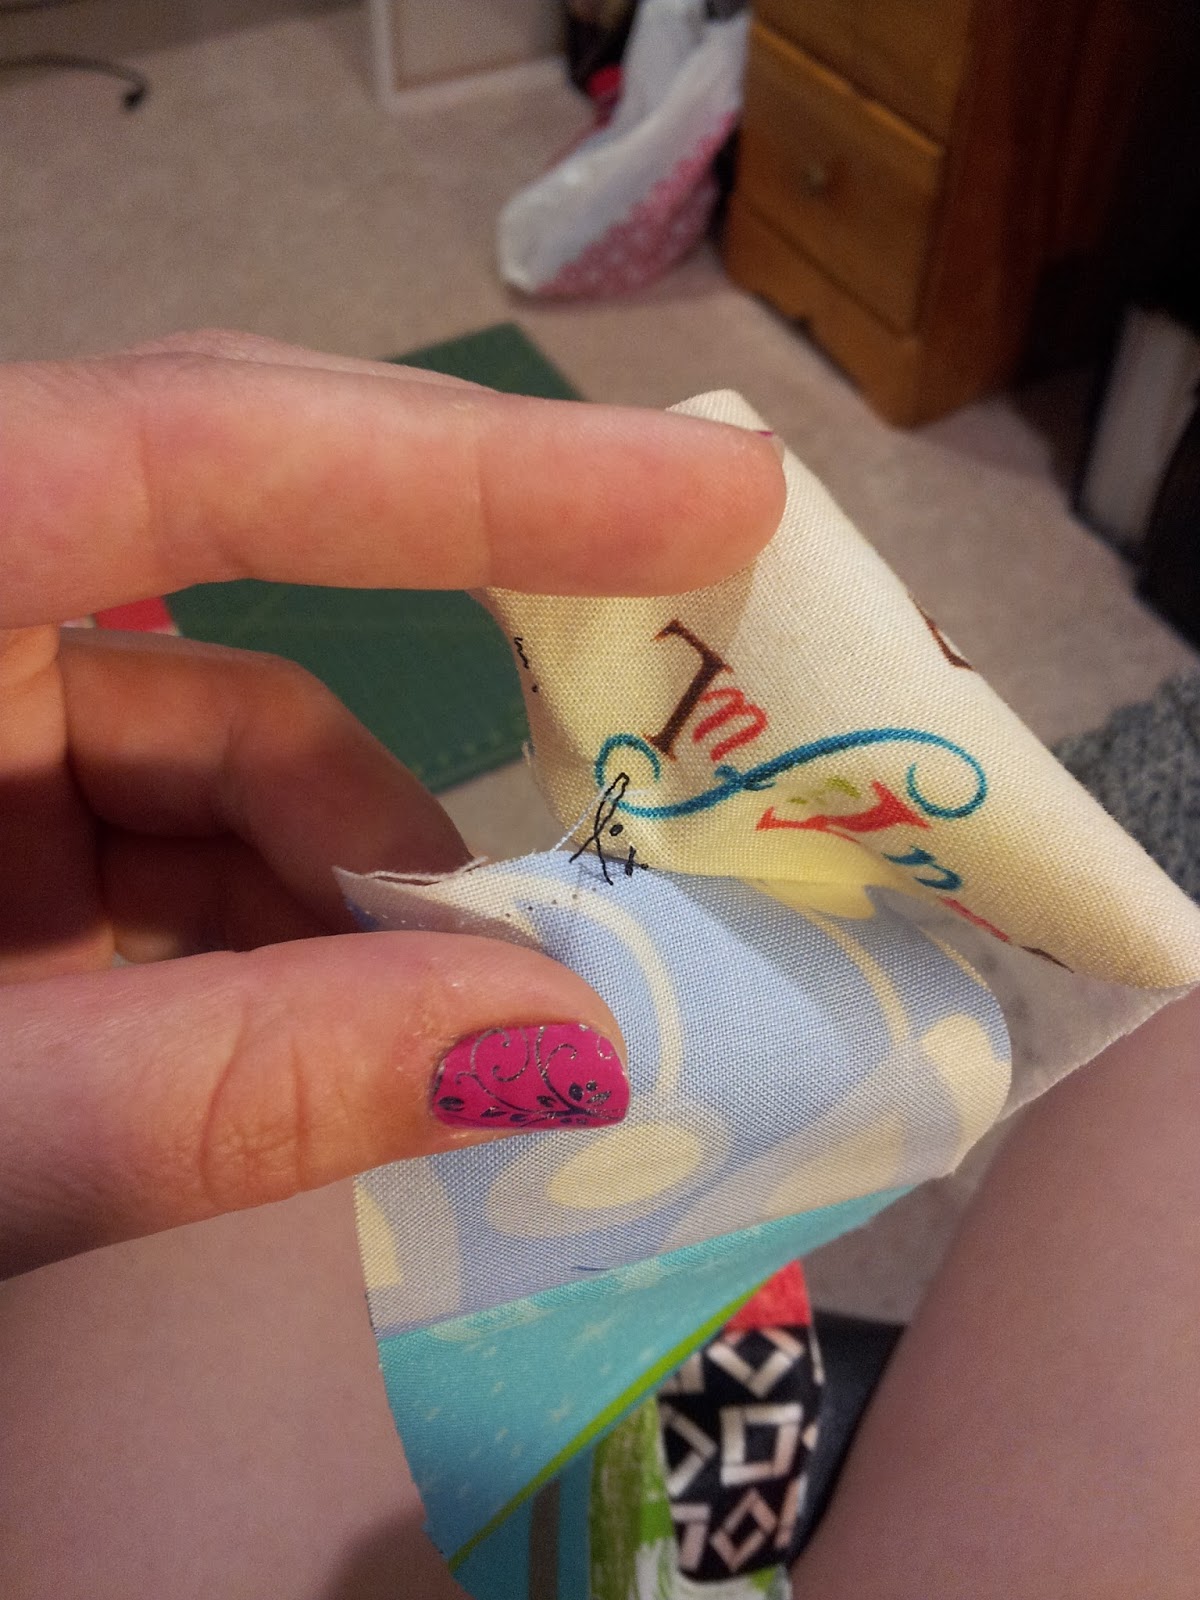
Take your whole fabric, right sides together, and fold it so that the seams match (basically fold it in half) and sew the tube closed with a final 1/4" seam. Now you will fingerpress your fabric flat so that your seams match right up on the opposite side (this is why you alternate ironing so that they match up.) While you are fingerpressing the seems together you will feel them "lock into one another." If you have any questions about this part please shoot me a message or a comment and I can help answer any questions!
Now you will have a tube that looks like this (the little pile to the right is part f the tube I have already cut.. I know I know.. I get too excited and need to take more specific photos. Forgive me I was super excited for this!! Aren't you???)
 |
| This tube has the other fabric underneath it, right sides facing. |
Now this is where the fun starts :)
 |
| Cut 2.5 inches |
Square up your tube by trimming the left side so it is all flush, 90 degree angle for the corners. Now you will measure 2.5 inches from the left side and cut your fabric with your rotary cutter. Continue to cut the 2.5 inch wide tubes until you run out of fabric. Or until you have the number of layer you want. I needed 9 cuts.
 |
| Here are the 9 tubes. |
Now you will organize your tubes in line and get your seam ripper ready.
 |
| Rip one seam from each tube |
 |
| Hi Mr. Seam Ripper, get ready to work!! |
Keep an eye on the type of pattern you would like to create. If you would like diagonals the you can work your way down one tube at a time taking the seam ripper to each subsequent block. I wanted to create a "wave" or a point to mine (it kind of looks like a mountain and I love that!!)
 |
| layout your cut pieces together, so that you can plan your pattern |
*** Tip: If you rip out a seam and it is not part of your pattern, you can go back and resew the 1/4" seam and then go back and rip the correct seam you would like... Imagine how I know this :p***
We are almost done!!! can you see your pattern now??? I can and I'm Super Excited!!!!
Take your fabric strips and sew them all together with a 1/4" seam.
 |
| Sew Sew Sew!! |
Now you will have your finished "Quilt Top".We will not be making a quilt sandwich this time though, we will be gluing it to the canvas. I re-ironed all the seams flat and placed hot glue on the corners of the canvas.
To be honest I couldn't bring myself to ruin a full canvas by putting glue all over it. This way if I want to take the fabric off and use the canvas for different art I still can :) Frugal I know ;). If you would like to make your canvas more sturdy and make sure that the fabric is not going anywhere, then by all means glue away!! Just be careful the glue is hot hot hot and the heat will reach through the fabric!
 |
| We are done!!! |
You are done!!! WOOHOO!!! I have placed this art over my workstation. Now I can look up and view my work when I need some inspiration.
Remember before how I said it looked like a mountain, It helps to remind me that when you are fighting an uphill battle, there will always be a reprieve all you have to do is push on.
 |
| So Awesome!! |
Happy Crafting!! xo
No comments:
Post a Comment