Here we are! Back at it again. I know I have promised you more information on the Sizzix Big Shot and how it works and what kind of projects I am going to do... well those are still coming. So wait with baited breath ;). I want to finish a project and show you a "How To" as I explain the machine as well:). Crazy I know, but I want you all to get the full experience. Additionally, I don't want any of you to miss out on the Halloween tutorials!!
Seven again I say 7 Days and counting until All Hallows Eve!!!
Do you have your costumes ready??? I sure hope so and I would love to hear all about them so send me a message or a comment ;).
As for right now I am going to show you how to make amazing and realistic spider webs from the dollar store bags of material!!. I know that a lot of people don't really like these fake spider webs because they just look clumpy or they don't stick well and there are many other excuses... I hope to break all of those excuses today!! So here we go!!

Supplies:
One bag of spider webbing, Spiders optionals ;)
Sticky Tack (white) or tape
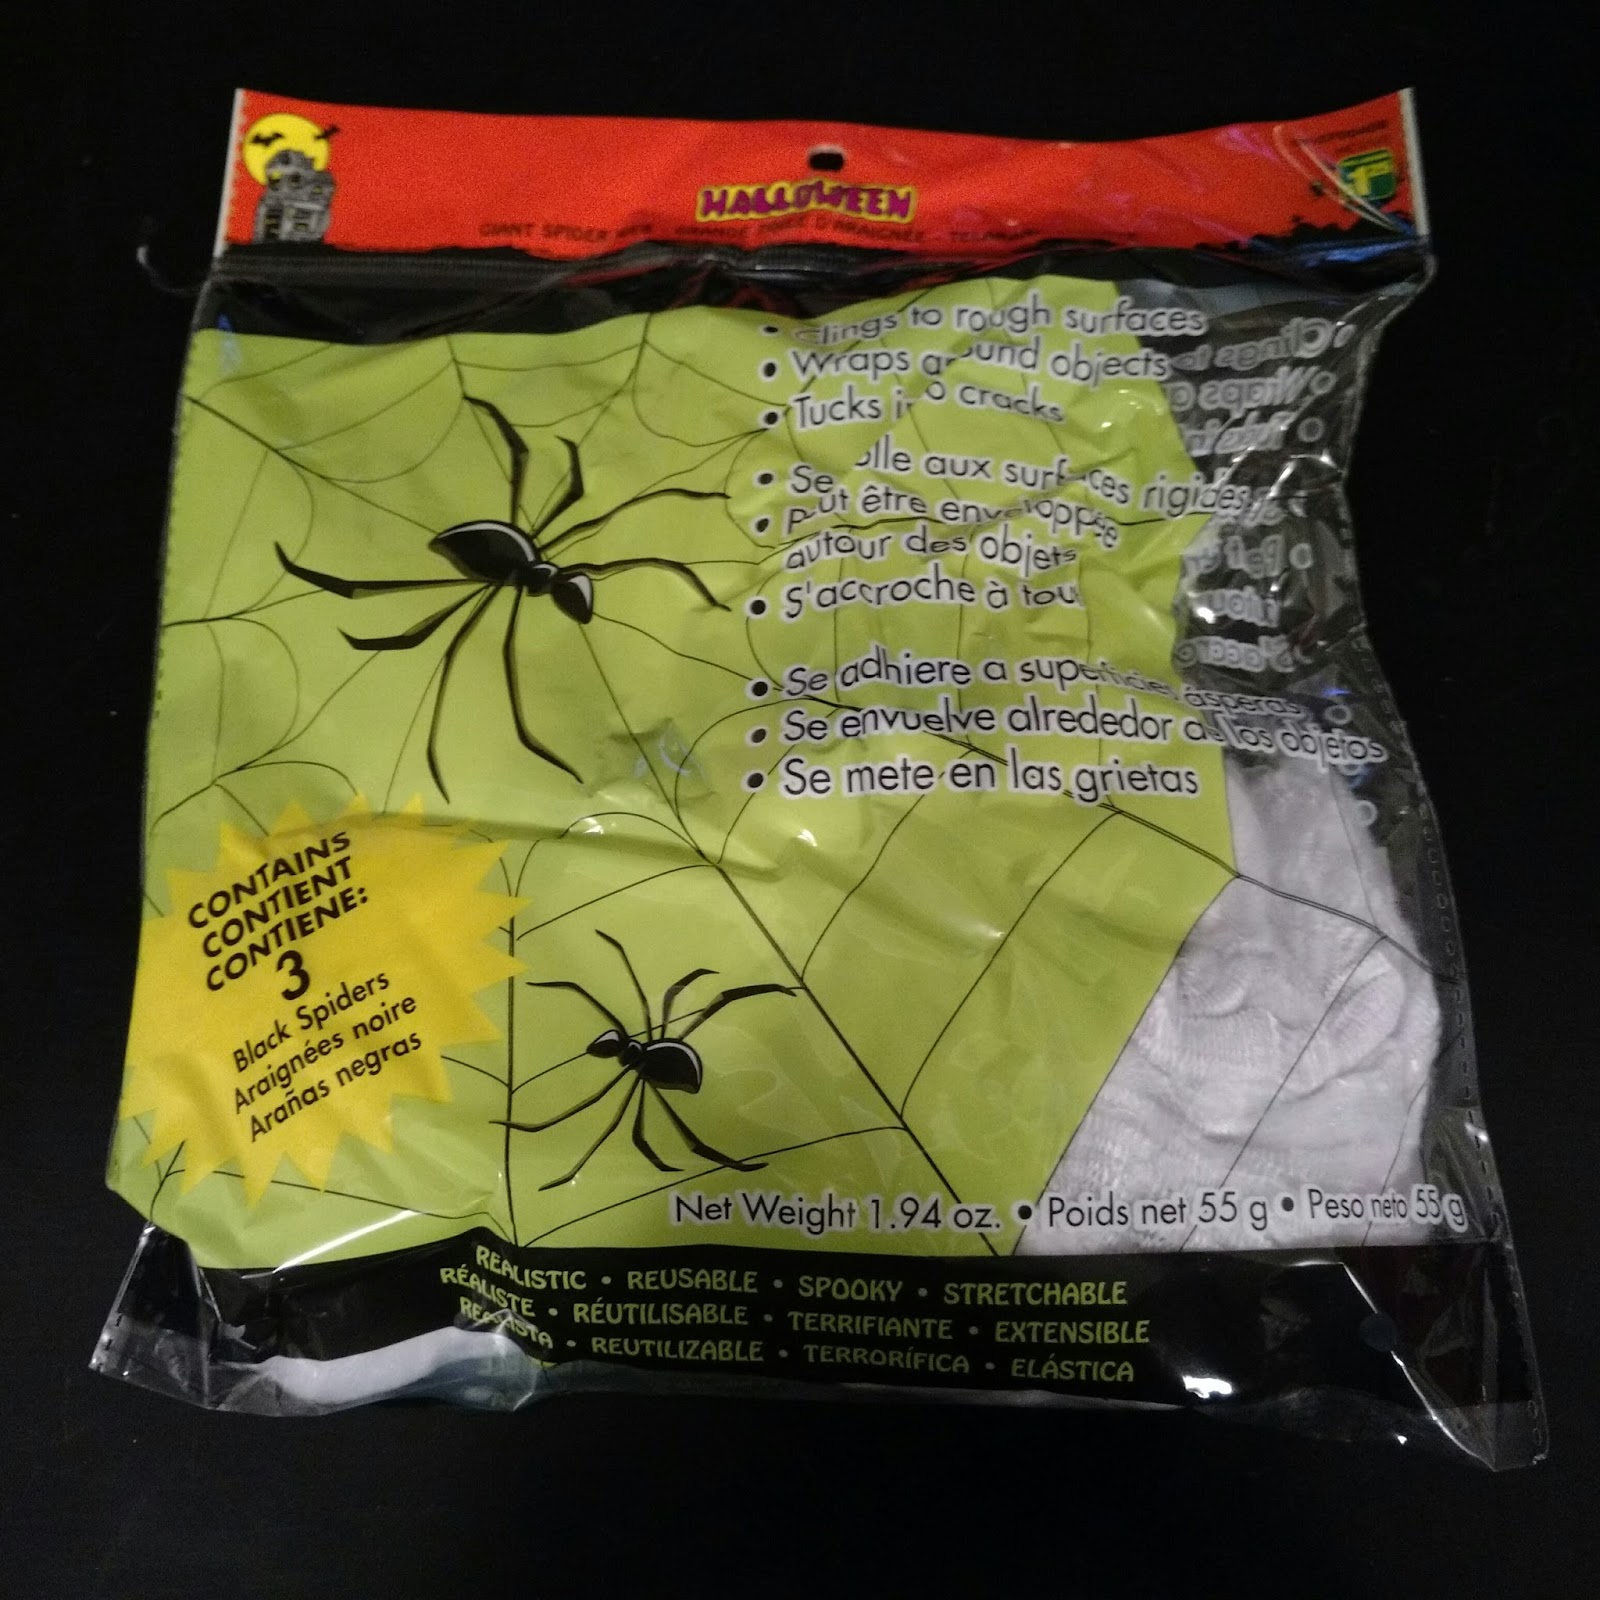
You can find bags of the Spider Webbing at any main stores, drugmarts, dollar stores and even some grocery stores carry them. These bags usually have small plastic spiders included (they enhance the effect ;)), When you open the bag, the material is usually all in a big bundle, don't worry it is mostly just cotton so unfold it a little and we will get started.
Don't worry the creepy crawlies wont come running out of the bag lol
 |
| Out of the bag |
I ripped off a small piece to work with so that we will be able to have more control. Remember you can always add more if you need some for the project. There is sooooo much material once it has been stretched out, I usually only use one bag for the whole house, that is how much this stuff stretches!!)
Now that you have your bundle to work with, get you fingers moving and stretching. Feel free to rip even smaller pieces to work with. The smaller the bundle you are working with, the thinner you can get the strands and the more realistic it will look.
Now that you have your bundle to work with, get you fingers moving and stretching. Feel free to rip even smaller pieces to work with. The smaller the bundle you are working with, the thinner you can get the strands and the more realistic it will look.
 |
| Getting better, working out the kinks |
 |
| OOO Looks spooky almost there!! |
You can see the difference between the two pictures here, the more you stretch and pull and move the material around the better it will work for your needs.
**Tip: Don't be afraid if your pieces get a little sparse, you can keep moving the fabric around and pull more material from the larger bundles and it will fill up. This material is very forgiving***
Here is the fun part... are you ready??
Get small amounts of your sticky tack ready and start dreaming of the scariest spider placements you can dream up... I know I know, its not hard because spiders are always creepy and scary ;)!!! Is that just me??
Here are some of the places I dreamed up, you really can place it on everything!!!
 |
| Typical cobwebs hanging from the beams |
 |
| The Spideys are coming! |
The corners are always amazing because they are out of the way and help create and maintain the atmosphere of the room.
 |
| The thin strands on the photos around the room, adding effect |
Last tip and tick for today is that the webbing can also be used to look life fog in glasses and bowls and things. All you need to do is play with is a little less and keep it fluffy. Wrap it around and make sure there are different densities of the webbing in the bowl to make it look as if the fog is moving.
Remember 7 days left for all your arts and crafts and until the final reveal here ;)
 |
| One of our centre pieces! |
I hope you learned a lot from this post and that you are able to be more creative now that you know how to effectively use the Spider Webbing!! Send Pictures and let me know how yours tuns out!!. I would love to hear what you all are planning for Halloween!!
Remember 7 days left for all your arts and crafts and until the final reveal here ;)
-Happy Crafting-
-xo-
No comments:
Post a Comment